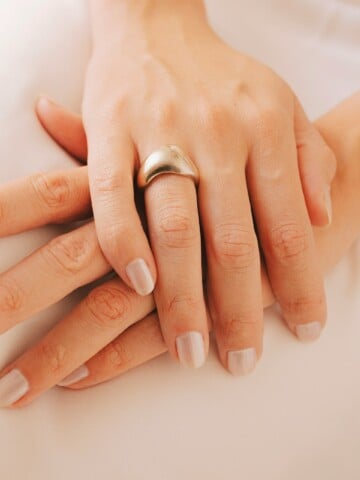
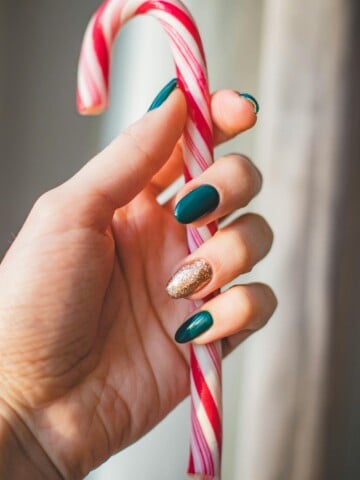
7 Secrets to Long-Lasting Nail Polish at Home
7 Secrets to Long-Lasting Nail Polish at Home
Tired of your nail polish chipping after just a day or two? We’ve all been there. It’s like watching your hard work (and money) flake away right before your eyes.
But what if I told you that you could make your at-home manicure last for a week or even longer? Sounds too good to be true, right? Well, these seven secrets will keep your polish looking fresh and fabulous for days on end.
Secret 1: Prep Like a Pro

First things first: your nails need to be squeaky clean before you start. Here’s how to do it right:
- Wash your hands with soap and water. Make sure to scrub under your nails too.
- Use a nail buffer to smooth out any ridges. This helps the polish stick better and gives you a smoother finish. A few gentle swipes are all you need.
- Wipe each nail with rubbing alcohol or vinegar. Oils are great for your skin, but they’re the enemy of long-lasting polish.
- If you have any hangnails or rough cuticles, use a cuticle remover and gently push back your cuticles. Trim any hangnails with clean, sharp nail scissors.
- Shape your nails with a file. File in one direction to prevent splitting and peeling.
Secret 2: Apply Base Coat
Base coat protects your nails from staining and helps the color polish stick better. Here’s how to use it:
- Choose a base coat that suits your nail type. If your nails are prone to peeling, use a strengthening base coat. For ridged nails, try a ridge-filling base coat.
- Apply a thin layer to each nail. Make sure to cover the whole nail, including the edges and tip.
- Let it dry completely before moving on to color. This usually takes about two minutes.
- Use a nail strengthener as your base coat if you have weak or damaged nails.
Using a base coat may seem like an extra step, but it’s a game-changer for long-lasting polish.
Secret 3: Use Thin Layers

When it comes to applying color, less is more. Here’s why thin layers are better:
- Thick layers of polish take forever to dry. They’re more likely to smudge or dent, and they can even peel off in sheets. Not cute.
- Thin layers dry faster and harder. This means they’re less likely to chip or scratch.
- You’ll probably need two or three thin coats for full coverage. That’s okay!
- Wait for each layer to dry before applying the next one. About two minutes should do it.
- When applying, start with a stripe down the center of your nail, then one on each side. This helps you get even coverage without overloading the brush.
- Don’t forget to paint the tips of your nails. This “caps” the edge and helps prevent chipping.
Remember, patience is key here. Taking your time with thin layers will give you a smoother finish that lasts longer.
Secret 4: Seal With Top Coat

Top coat protects your color and adds shine. Plus, a good top coat can make your manicure last days longer. Here’s how to make the most of it:
- Choose a quick-dry top coat. It’ll save you time and reduce the chance of smudges.
- Apply a thin, even layer over your completely dry color polish. If you apply it to wet polish, you may end up with bubbles or smears.
- Don’t forget to “cap” the edge of your nails. Run the brush along the tip of each nail to seal in the color. This extra step can add days to your manicure’s life.
- Reapply the top coat every couple of days to refresh the shine and protection. Especially if you wash your hands a lot or use hand sanitizer frequently.
- If you’re going for a matte look, use a matte top coat instead of a glossy one. These still protect your polish, just without the shine.
Some top coats are tinted to enhance certain polish colors. For example, a slightly blue-tinted top coat can make white polish look brighter and crisper.
Secret 5: Hydrate Your Hands and Cuticles

Dry hands are the enemy of long-lasting polish. When your skin is dry, it can pull moisture from your nails, making them brittle and more likely to chip. Here’s what to do:
- Use a hand cream regularly. Look for one with nourishing ingredients like shea butter or vitamin E.
- Pay special attention to your cuticles. Massage a cuticle oil into them daily. This keeps them soft and protects them from chipping.
- Wear gloves when doing dishes or cleaning if you can. This protects your hands and nails from harsh chemicals and excessive water exposure.
- Don’t forget to moisturize after washing your hands. This is especially important if you use hand sanitizer a lot, which can be very drying.
Keeping your hands and nails hydrated helps your polish stay put. Plus, your hands will feel super soft.
Secret 6: Be Gentle With Your Nails

Your nails aren’t tools, even though we often use them that way. Treating them gently can help your polish last longer:
- Avoid using your nails to open cans or scratch-off stickers. Use proper tools instead.
- Type with the pads of your fingers, not your nails. This reduces stress on the polish and can prevent chips and cracks.
- Wear gloves when gardening or doing other rough work with your hands. This protects both your nails and your manicure.
- If you work with paper a lot, be extra careful. Paper can be surprisingly abrasive to nail polish.
- When applying lotion, use your palms to rub it in instead of your fingertips. This prevents your polish from getting rubbed off.
Remember, every little bit of care adds up. The gentler you are with your nails, the longer your polish will last.
Secret 7: Quick Fixes for Chips and Smudges

Even with the best care, chips and smudges can happen. Here’s how to deal with them:
For small chips:
- Smooth out the chipped edge with a nail file. This prevents the chip from catching on things and getting bigger.
- Dab a tiny bit of your polish on the chip. Less is more here – you can always add another layer if needed.
- Once it’s dry, apply a thin layer of top coat over the whole nail. This blends the repair and refreshes your entire nail.
- If the chip is at the tip of your nail, you can try “sealing” it with a layer of top coat instead of adding more color. Sometimes this is enough to stop the chip from spreading.
For smudges:
- If you notice a smudge right away, try smoothing it out with your finger. Sometimes the heat and pressure from your fingertip can blend out a small smudge.
- If that doesn’t work, dip a small brush in nail polish remover and gently smooth out the smudge. An old lip brush or a clean eyeliner brush works great for this.
- Once it’s dry, apply a thin layer of polish over the area, followed by top coat.
For really bad smudges, you may need to remove the polish from that nail and start over. It’s annoying, but it’s better than walking around with a messy-looking nail.
You Nailed It!
With these tips, you’ll be rocking long-lasting nails for days. Remember, practice makes perfect. The more you do your nails, the better you’ll get at making them last.
Don’t get discouraged if your first attempts don’t turn out perfect. So go ahead, treat yourself to that new nail polish color you’ve been eyeing.